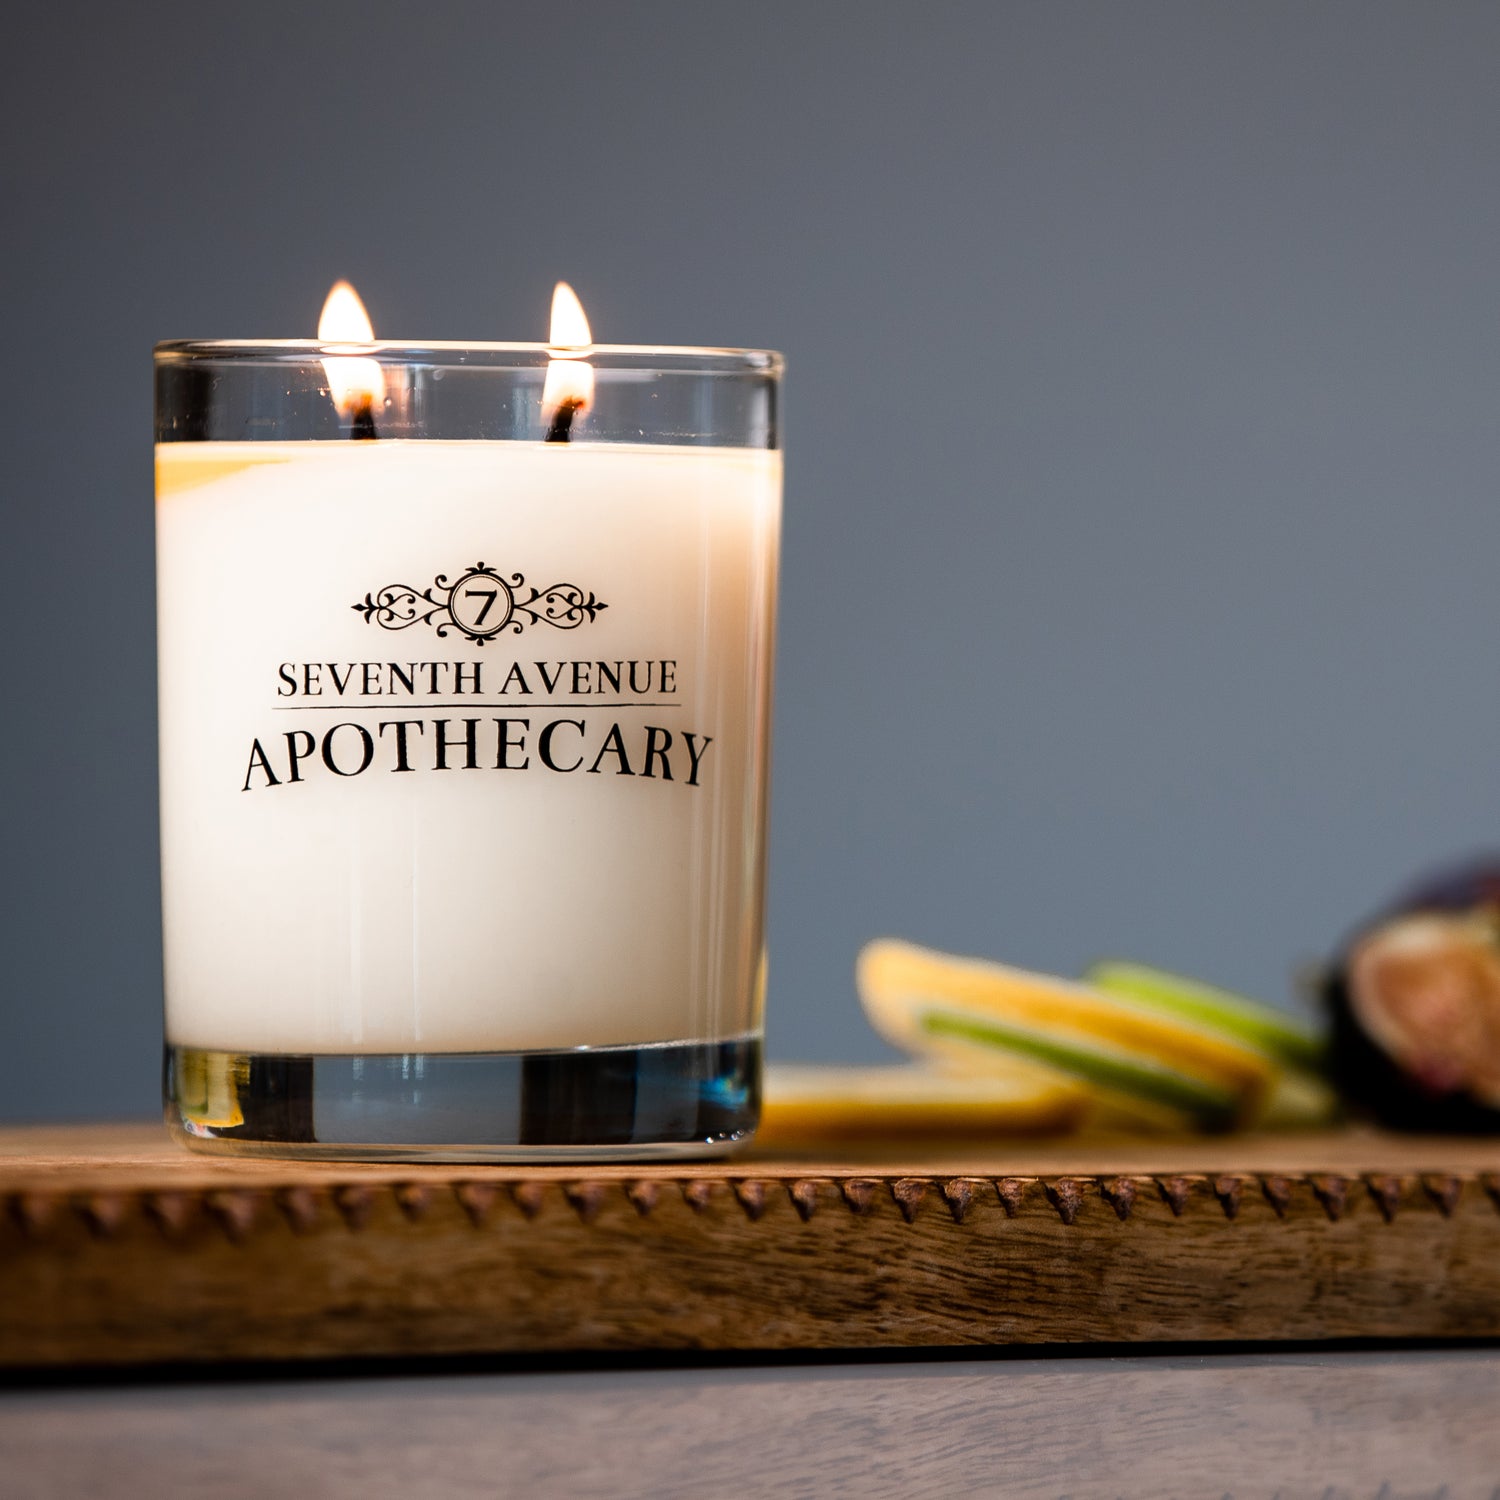


Combining soy and beeswax is a popular technique for candle makers who want the best of both worlds: the clean burn and gentle fragrance of soy wax with the rigidity and natural aroma of beeswax. However, mixing these waxes safely requires attention to temperature, ratios, and proper handling. Done correctly, your candles will burn evenly, smell amazing, and maintain a beautiful shape.
This guide walks you through each step, explains common mistakes, and offers options for pre-blended wax and starter kits for a simpler, safer experience.
Why Mix Soy and Beeswax?
Each wax brings unique benefits. Soy wax is known for its clean burn, ease of fragrance binding, and gentle aroma. Beeswax adds firmness, a subtle natural scent, and longer burn time. When blended properly, the combination gives you a candle that holds its shape, throws fragrance well, and offers a luxurious, natural finish.
Mixing waxes is not difficult, but temperature control is critical. Overheating beeswax or adding soy at the wrong time can cause uneven textures, poor scent throw, or separation in the finished candle.
Internal link suggestion: [Beeswax vs Soy Wax for Candles]
Step 1: Gather Your Supplies
Before you begin, make sure you have everything you need. This includes separate containers for melting each wax, a heat source, a thermometer, and your chosen fragrance oils. A dedicated stirring tool and safe pouring containers are also essential.
For beginners or anyone who prefers convenience, pre-blended wax or starter kits take the guesswork out of mixing. These options provide the perfect ratio of soy to beeswax and are ready to melt safely.
Step 2: Measure and Prepare Your Wax
Decide on your ratio. A common blend is 70% soy wax to 30% beeswax, but this can vary depending on desired firmness and scent throw.
Measure each wax carefully. Using a scale ensures consistent results and helps avoid problems like uneven burning or wax separation. Keep your waxes in separate containers until they are ready to melt.
Step 3: Melt the Waxes Safely
Beeswax and soy wax have different melting points, so it’s important to melt them carefully:
- Melt beeswax first, ideally in a double boiler to avoid overheating. The target temperature is around 145°F to 155°F.
- Once beeswax is fully melted, add soy wax gradually. This prevents scorching and ensures both waxes combine evenly.
- Stir gently but thoroughly to create a homogeneous mixture. Avoid vigorous stirring, which can introduce air bubbles.
Why Timing and Temperature Matters When Making Soy Wax Candles
Step 4: Add Fragrance Oils
After your waxes are fully blended and within the ideal temperature range, it’s time to add fragrance. Fragrance oils bind best when the wax is warm but not too hot, typically around 155°F to 165°F. Adding fragrance at the wrong temperature can cause weak scent throw or separation.
If you prefer a simple solution, starter kits often come pre-measured with fragrance oils that mix seamlessly at the correct temperature, saving time and reducing the risk of mistakes.

Step 5: Pouring and Setting Your Candle
Pour the blended wax into your container slowly and evenly. Preheating containers slightly can prevent sinkholes or cracking. Allow the candle to cool at room temperature for several hours, undisturbed.
Curing your candle after pouring ensures the fragrance is fully absorbed into the wax. A typical cure time is 7–12 days, depending on your chosen wax blend and container size. Proper curing maximizes scent throw and burn quality.
Mistakes to Avoid When Mixing Soy Wax & Beewax
Mixing soy and beeswax can lead to issues if temperature or ratios are off. Here’s what to watch for:
- Adding soy to overheated beeswax
- Pouring wax that is too hot or too cold
- Overcrowding containers, which leads to uneven cooling
- Skipping the curing period
Following the proper steps and using pre-blended wax options reduces these risks, making your candle-making experience much smoother.
Real-Life Experiences
Many beginners have found that pre-blended wax and starter kits make the difference between frustration and success. One candle maker shared:
★★★★★
“Using a pre-blended soy and beeswax kit saved me from multiple failed pours. The candles smell amazing and hold their shape perfectly.”
Related Resources
For further reading and tips, check out:
- Can You Mix Beeswax and Soy Wax for Candles
- Why Timing and Temperature Matters When Making Soy Wax Candles
- Beeswax vs Soy Wax for Candles
These guides explain ratios, temperatures, and techniques in more depth.
Final Thoughts
Mixing soy and beeswax can elevate your candles, giving them a perfect balance of scent, firmness, and burn time. Whether you want to experiment yourself or simplify the process with pre-blended wax, following these steps ensures safe, beautiful results every time.