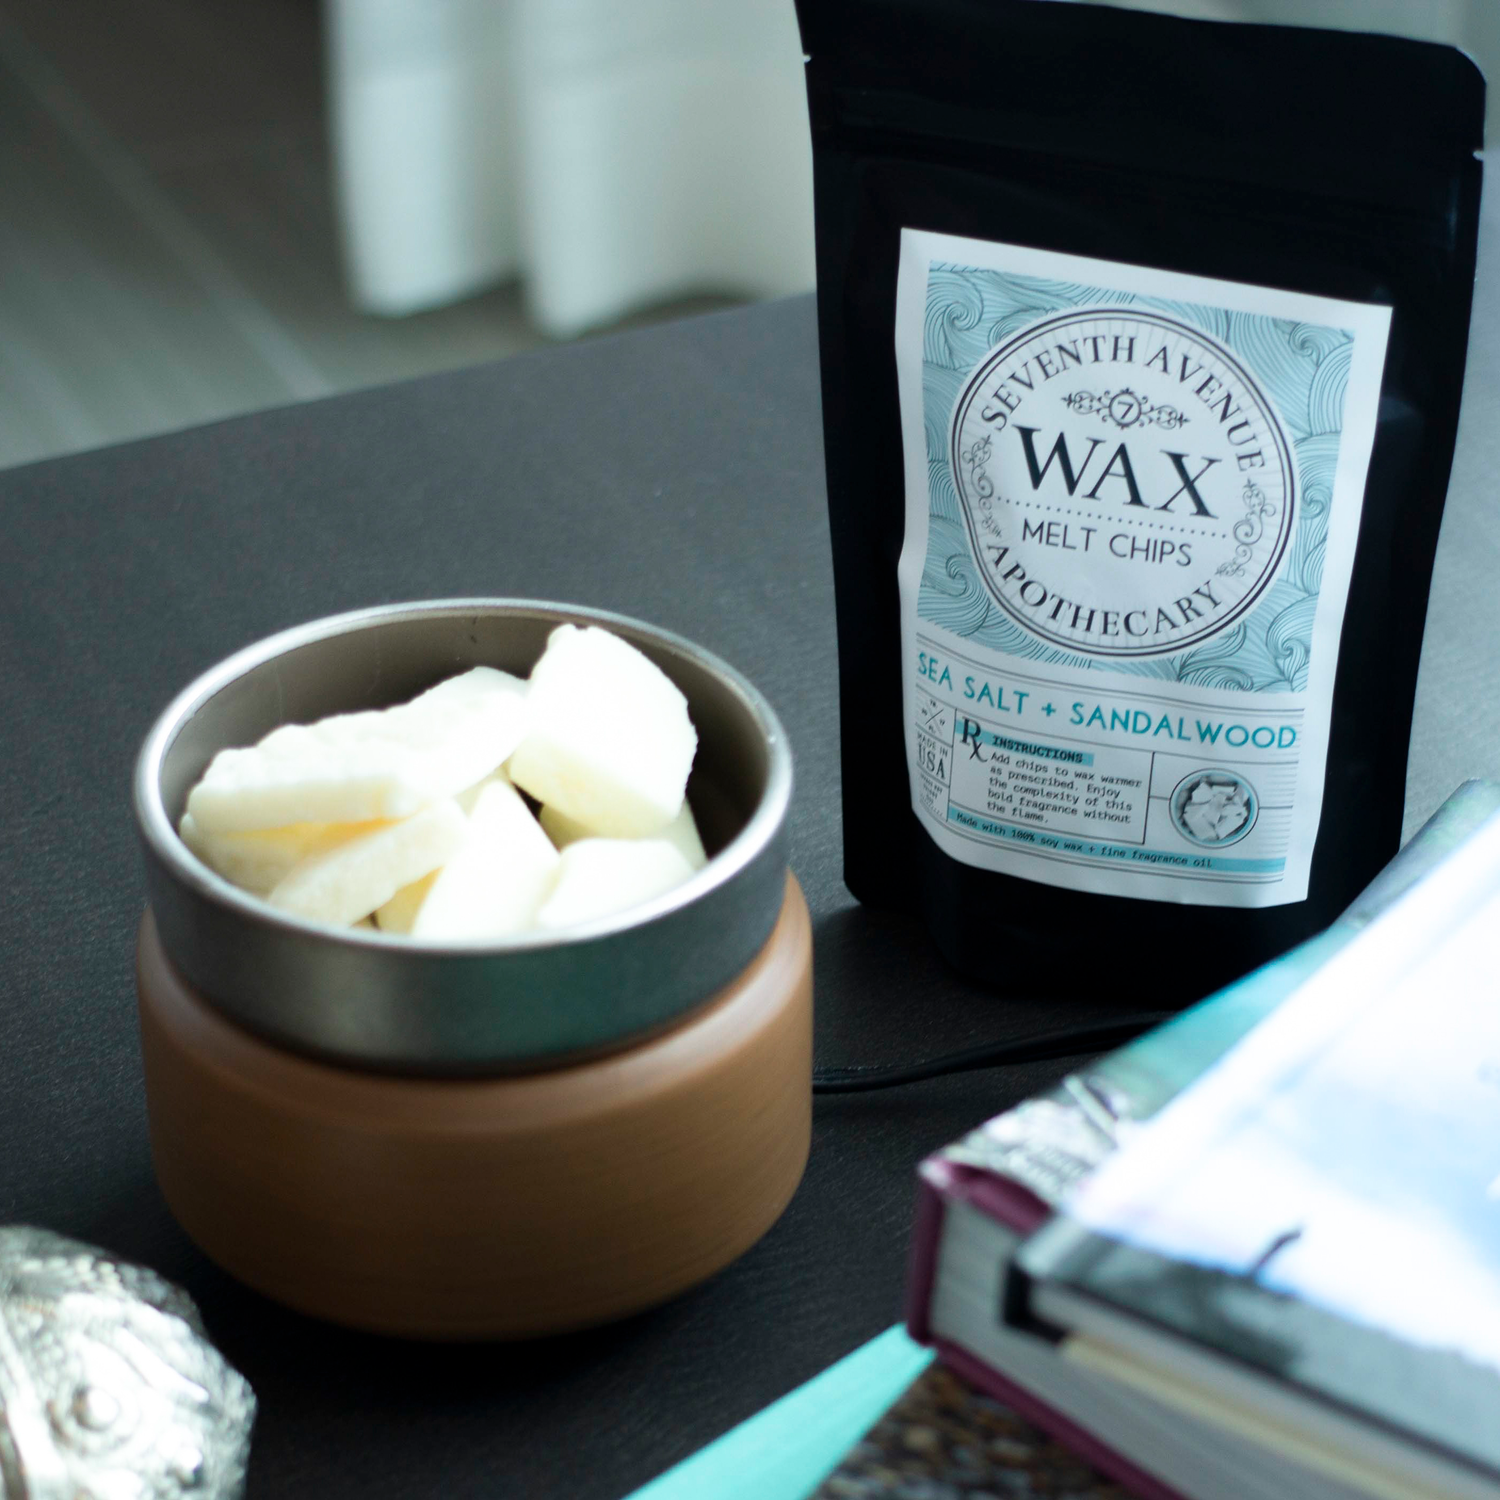
Keeping your wax burner or wax warmer in pristine condition is crucial for a flawless fragrance experience. Over time, wax melts can leave behind residue that dulls the scent and can affect your burner's performance. Regular cleaning not only maintains the efficiency of your burner but also ensures a fresh, delightful aroma every time you use it.
Why You Should Be Cleaning Your Wax Burner
Over time, the wax melts you use can leave behind a buildup of residue on your burner. This residue not only dulls the scent but can also impede the proper functioning of your device.
Leaving old wax to sit for extended periods makes it increasingly difficult to clean, complicating the maintenance process. Regularly cleaning your wax burner prevents residue accumulation, ensuring it remains in top condition and delivers consistent, delightful scents every time you use it. For a perfectly aromatic environment, make wax burner upkeep a part of your routine.
How to Clean Your Wax Burner
Maintaining a pristine wax burner is essential for ensuring a consistent, delightful fragrance experience. Here’s a step-by-step guide to keep your wax burner in top shape:
- Let the Wax Harden
Begin by allowing the wax to cool and harden completely. Attempting to clean while the wax is still melted can lead to a messier process and make the wax harder to remove. Patience here pays off, as solidified wax is much easier to handle.
- Scrape Off Excess Wax
Once the wax is solid, gently use a plastic scraper, a credit card, or a nectar card to lift off as much wax as possible. Be cautious not to scratch the surface of your wax burner, especially if it’s crafted from delicate materials.
- Clean with Rubbing Alcohol
With the bulk of the wax removed, take a cotton ball or pad and saturate it with rubbing alcohol. Gently wipe away any remaining wax residue and stains. The rubbing alcohol will help dissolve the wax and clean away lingering marks, leaving your burner fresh and ready for the next use.
- Cleam the Dish
If your wax burner includes a dish, give it some attention too. The dish can accumulate wax residue and debris that affect performance. Wipe it down with a damp cloth or paper towel, and follow up with a cotton ball soaked in rubbing alcohol for a thorough clean.
- Establish a Cleaning Routine
Regular maintenance is key to keeping your wax burner in prime condition. After each use, remove any residual wax and clean your burner every few weeks to prevent build-up. This routine ensures your wax burner continues to deliver the best aromatic experience, time and time again.
How to Clean a Burnt Wax Melt Burner
Use a silicone spatula to gently scrape off hardened wax without scratching your burner. If needed, clean with mild detergent and warm water, then rinse and dry thoroughly before using again. For stubborn residue, a cloth dampened with white vinegar can help dissolve the wax.
Do Wax Melts Burn Away Completely?
Unlike candles, wax melts don’t evaporate; they simply lose their fragrance over time. As the scent diminishes, you’ll be left with unfragranced wax that remains solid unless removed.
How to Stop Wax Melts Sticking to the Burner?
Use wax melt liners to prevent wax from sticking to your burner. After the melt has been used, simply lift out the liner and discard it, keeping your burner clean and hassle-free.
Keeping your wax burner clean is the key to a consistently wonderful fragrance experience. Follow these straightforward tips and you'll ensure your burner stays in tip-top shape and your scents stay fresh and inviting. A little regular care goes a long way!
Check out our stunning range of soy wax melts at Seventh Avenue. We’ve got the perfect blends to keep your home smelling lovely and welcoming. Happy melting!


