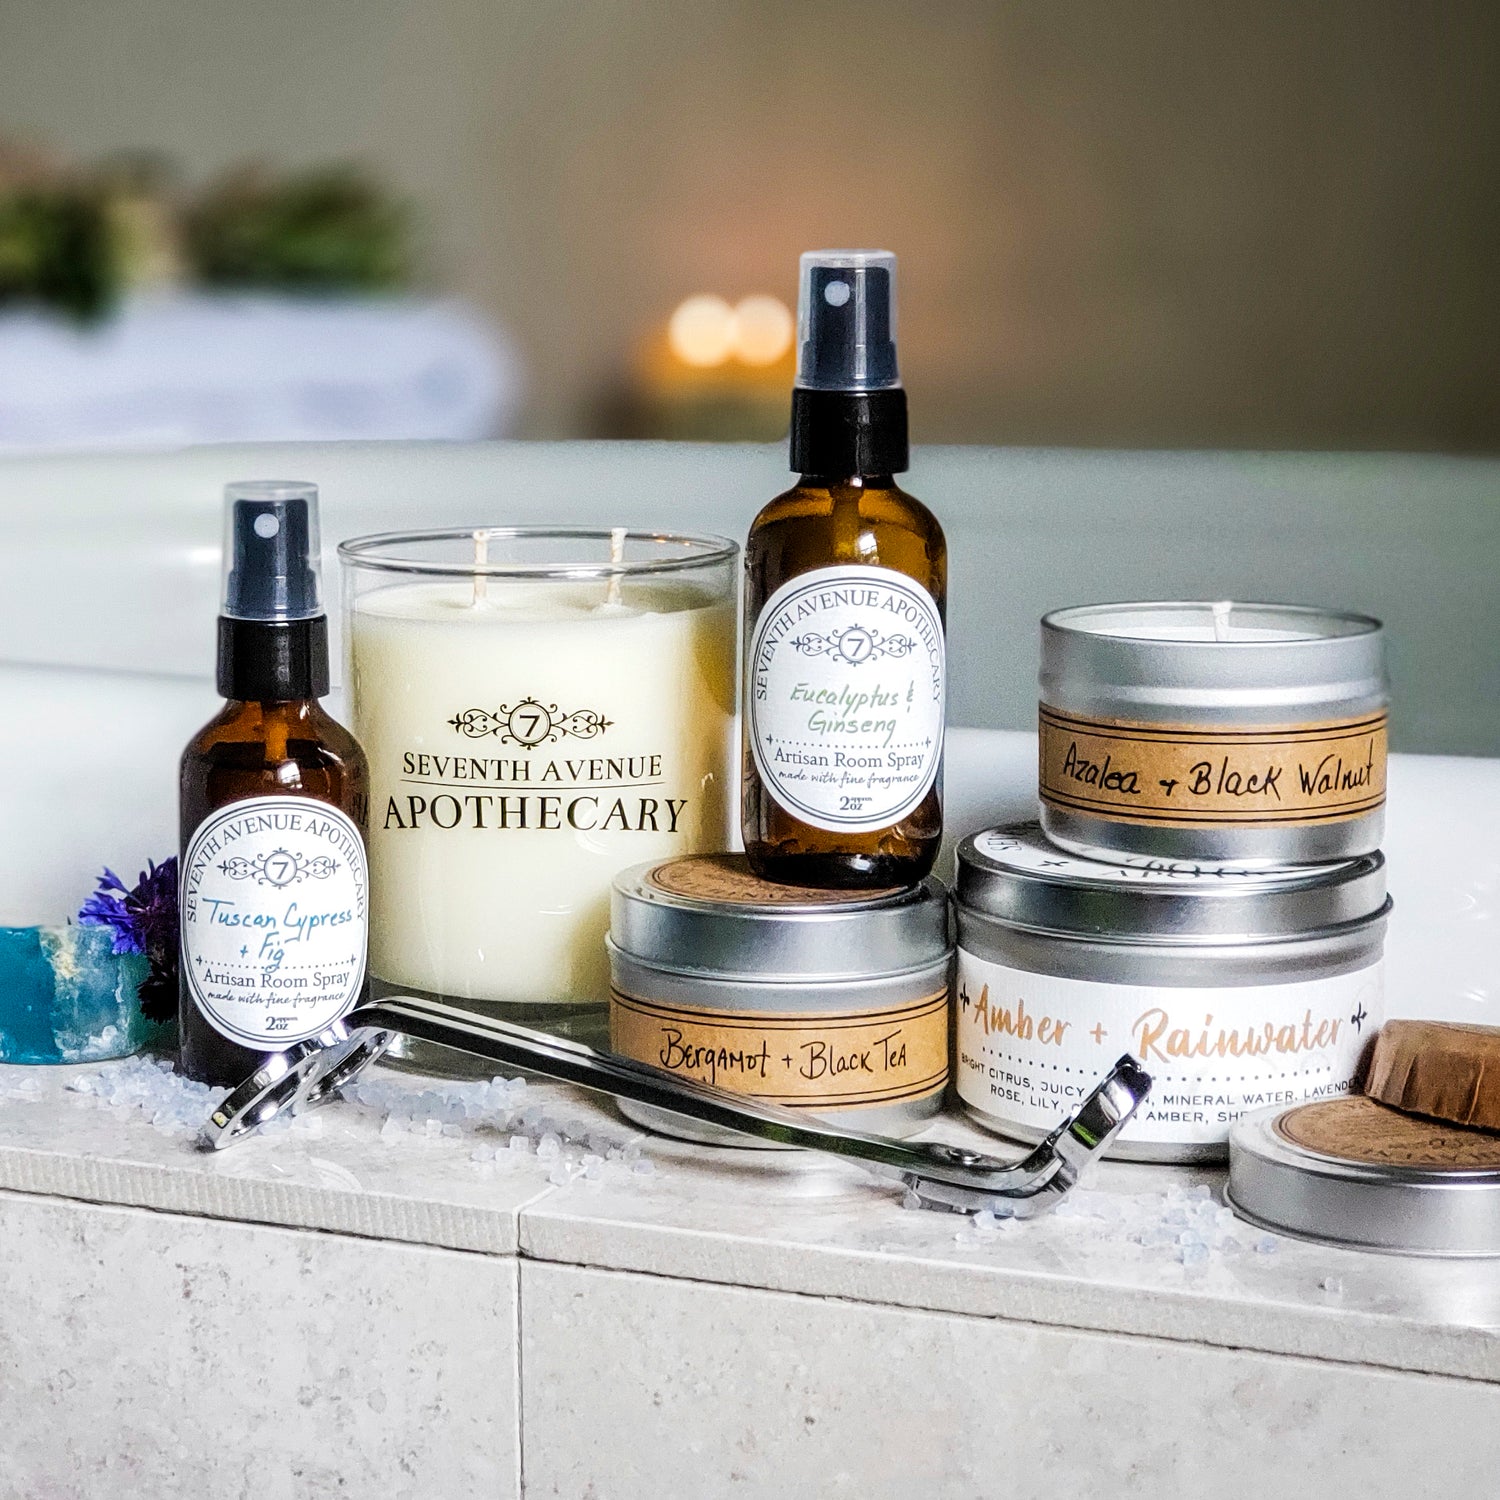
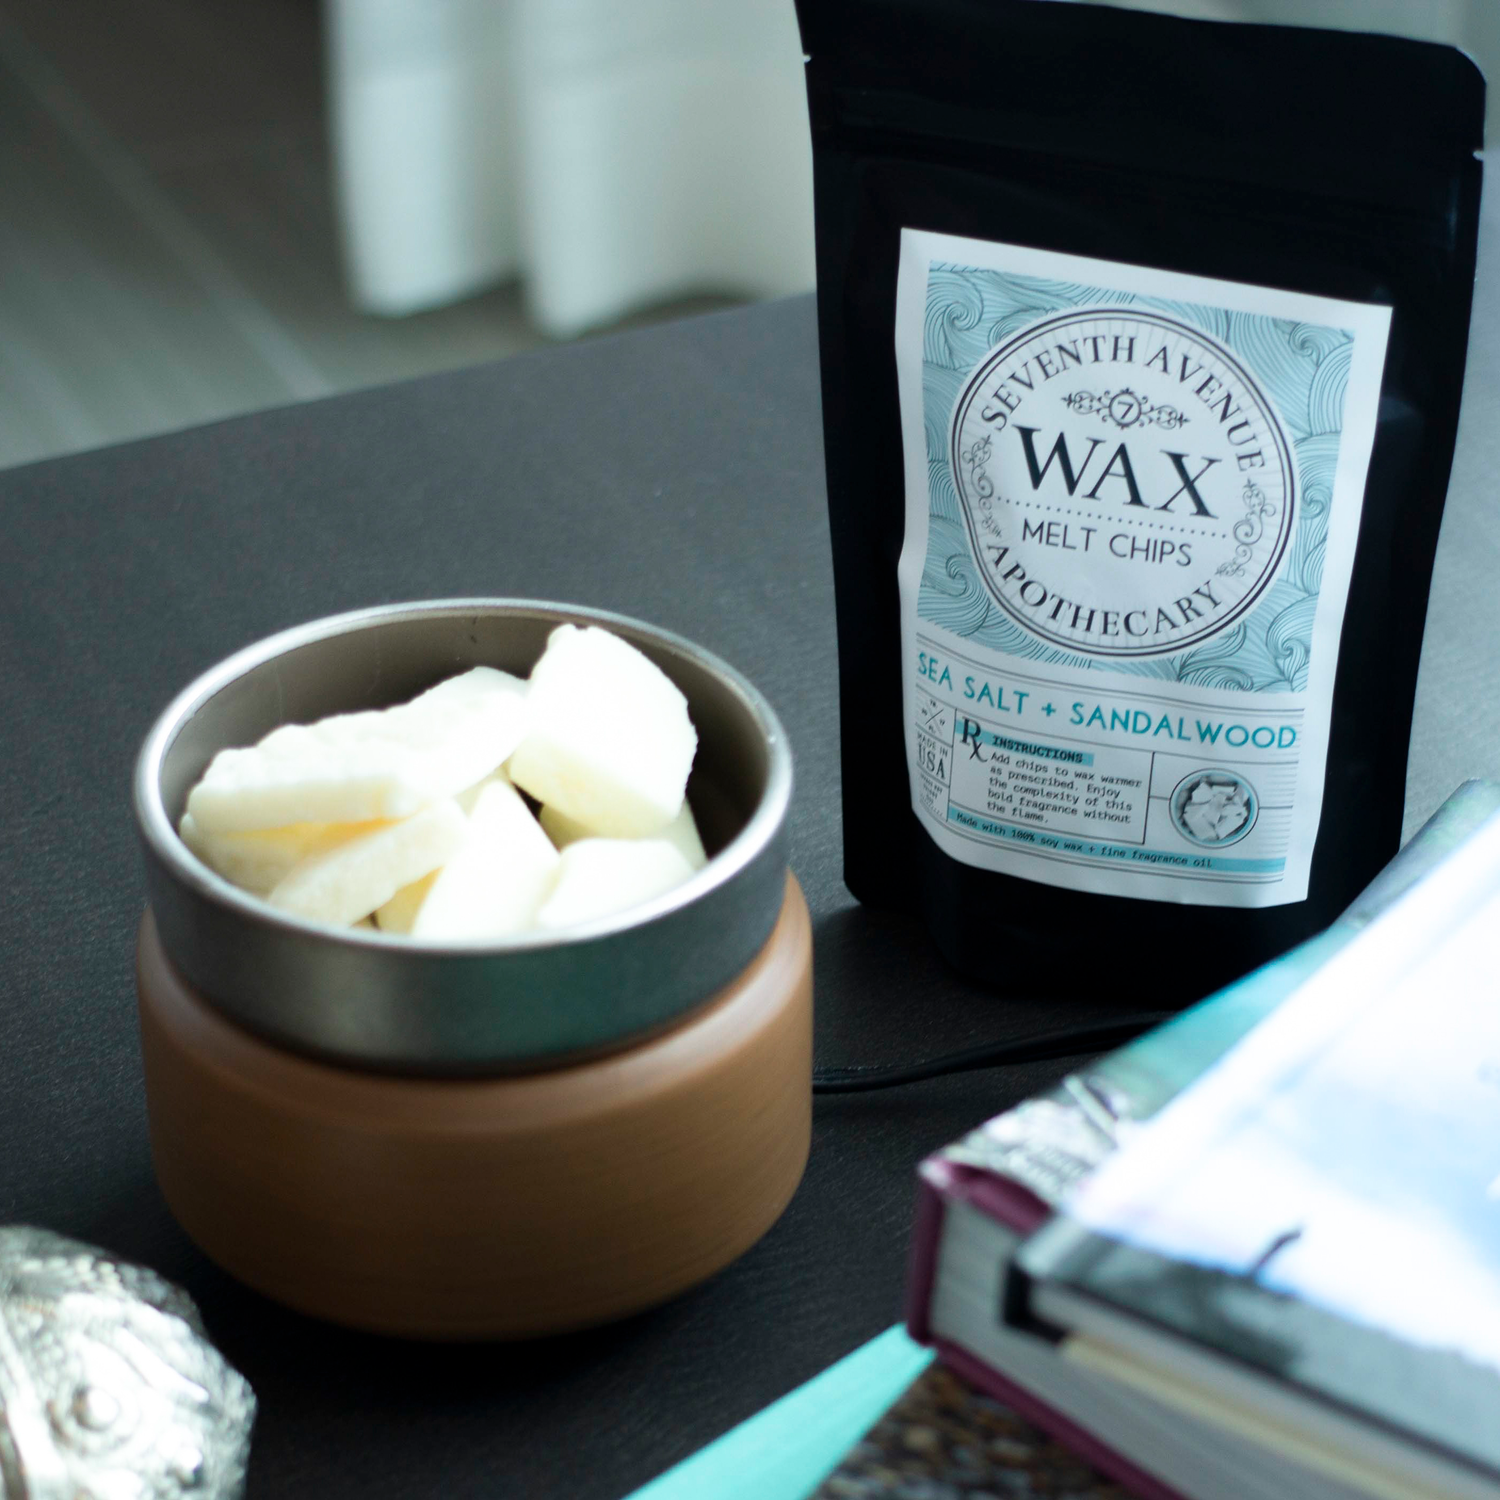
At Seventh Avenue, we’re passionate about creating an unforgettable fragrance experience in every corner of your home.
If you’re searching for how to clean a wax warmer, know that regular cleaning is the best way to protect both your wax melts and your device. Over time, leftover wax and scent residue can build up in your warmer, dulling your new fragrances and reducing their performance. Cleaning your wax warmer regularly means you’ll always experience a true, rich scent with every use — and extend the life of your warmer too.
“A clean wax warmer is the secret to enjoying every note of your favorite wax melts.”
Our guide will help you easily refresh your wax warmer, so you can continue enjoying the full, vibrant aromas you love. Dive in and discover the joy of a perfectly clean wax warmer!
How To Tell If It's Time To Clean Your Wax Warmer
- Scent Fading: If your wax melt is losing its aroma, it's time for a clean-up.
- Clean Before Switching: Always clean your wax warmer before adding a new wax melt to prevent old scents from mingling with new ones.
- Enjoy Pure Fragrance: Regular cleaning ensures you get the full, vibrant scent of your new wax melt.
- Maintain Aesthetics: Keeping your wax warmer clean also helps it look its best.
-
Wax Melt Longevity: Wax tarts generally last a few days with heavy use, and high-quality wax melts can last up to 90 hours. When the scent fades despite extended use, it’s time to clean out your warmer.
How to Empty a Wax Warmer Without Mess
One of the most common questions is how to empty wax warmer safely and quickly. Here’s a simple guide:
Warm and Pour – Heat the wax slightly so it softens, then carefully pour the melted wax into a heat-safe container. Use paper towels to wipe out any remaining residue.
Freeze and Pop – If your warmer’s dish is freezer-safe, place it in the freezer for 20–30 minutes. Once the wax hardens, gently pop it out with a soft scraper.
Safe Disposal – Always throw away used wax in the trash. Never pour melted wax down the sink, which can cause clogs.
How to Clean a Wax Burner or Wax Melter
Wondering how to clean wax burner or how to clean wax melter? Follow these easy steps to keep yours in top condition:
- Power Off First – Always unplug or switch off your wax burner before cleaning.
- Gentle Scrub – Dampen a soft sponge with warm water and add a sprinkle of baking soda. Wipe away leftover wax and any discoloration.
- Deep Clean – For stuck-on residue, a melamine sponge (like Magic Eraser) can be effective.
- Finish – Wipe clean with a lint-free cloth and let the dish fully dry before adding new wax.
“Regular cleaning avoids wax build-up and keeps your fragrance clear and true.”
How to Clean a Ceramic Wax Warmer
If you’re looking up how to clean a ceramic wax warmer, be extra gentle:
- Avoid steel wool or harsh scrubbers that could scratch ceramic glaze.
- Warm and wipe, or freeze and pop, just as you would with other warmers.
- Clean with a mild dish soap on a soft cloth, then rinse and dry thoroughly to preserve the ceramic’s finish.
How to Clean Wax Melts
For those searching clean wax melts, remember you cannot clean the wax itself, but you can keep your warmer clean before switching fragrances. Always remove old wax and wipe the dish so fresh melts deliver their full aroma without any scent crossover.
Best Practices to Maintain a Clean Wax Warmer
- Clean out your wax warmer when the scent fades or before changing to a new melt.
- Avoid mixing old wax with new to preserve fragrance purity.
- Check for any residue weekly, especially if you use strong-colored or high-fragrance wax.
- Regular cleaning extends the life of your warmer and keeps it looking great.
Do you need to empty a wax warmer?
Yes, it's crucial to empty your wax warmer when the scent starts to fade. Cleaning out your wax warmer before adding a new wax melt prevents old residues from mingling with fresh fragrances, ensuring you enjoy the full aroma of your new melt.
How do you reuse a wax warmer?
You can reuse your wax warmer by continuously heating the same wax melts until the fragrance fades. When the scent is no longer detectable, simply replace the old wax with a new melt. Reusing the warmer is an economical and eco-friendly way to enjoy your favorite scents.
How to clean a burnt wax melt burner?
For a burnt wax melt burner, use a silicone spatula to gently scrape off hardened wax without scratching. If needed, apply a mild detergent with warm water to clean any remaining residue. Rinse thoroughly and dry the burner before its next use to maintain its condition.
Can I put water in a wax heater?
No, never submerge an electric wax warmer in water. Doing so can damage the electrical components and pose safety risks.
How often should you clean your wax warmer?
Clean your wax warmer when the melted wax loses its scent or when you're switching to a new fragrance. Regular cleaning ensures your warmer continues to perform optimally and delivers the freshest aroma with every use.
How to clean brown residue from a wax warmer?
To tackle brown residue, soak the dish with a water and soap solution or use a dedicated cleaning spray. Let it sit for 4-5 minutes, then scrub with a sponge. This process will help remove stubborn residue and keep your wax warmer looking and functioning beautifully.
A clean wax warmer is essential for savoring every note of your chosen fragrances. By following these simple steps, you can keep your warmer in excellent condition and make the most of each wax melt. If you are ready to find your perfect match, explore our collection of stylish wax warmers and discover new ways to fill your home with these magical scents.


