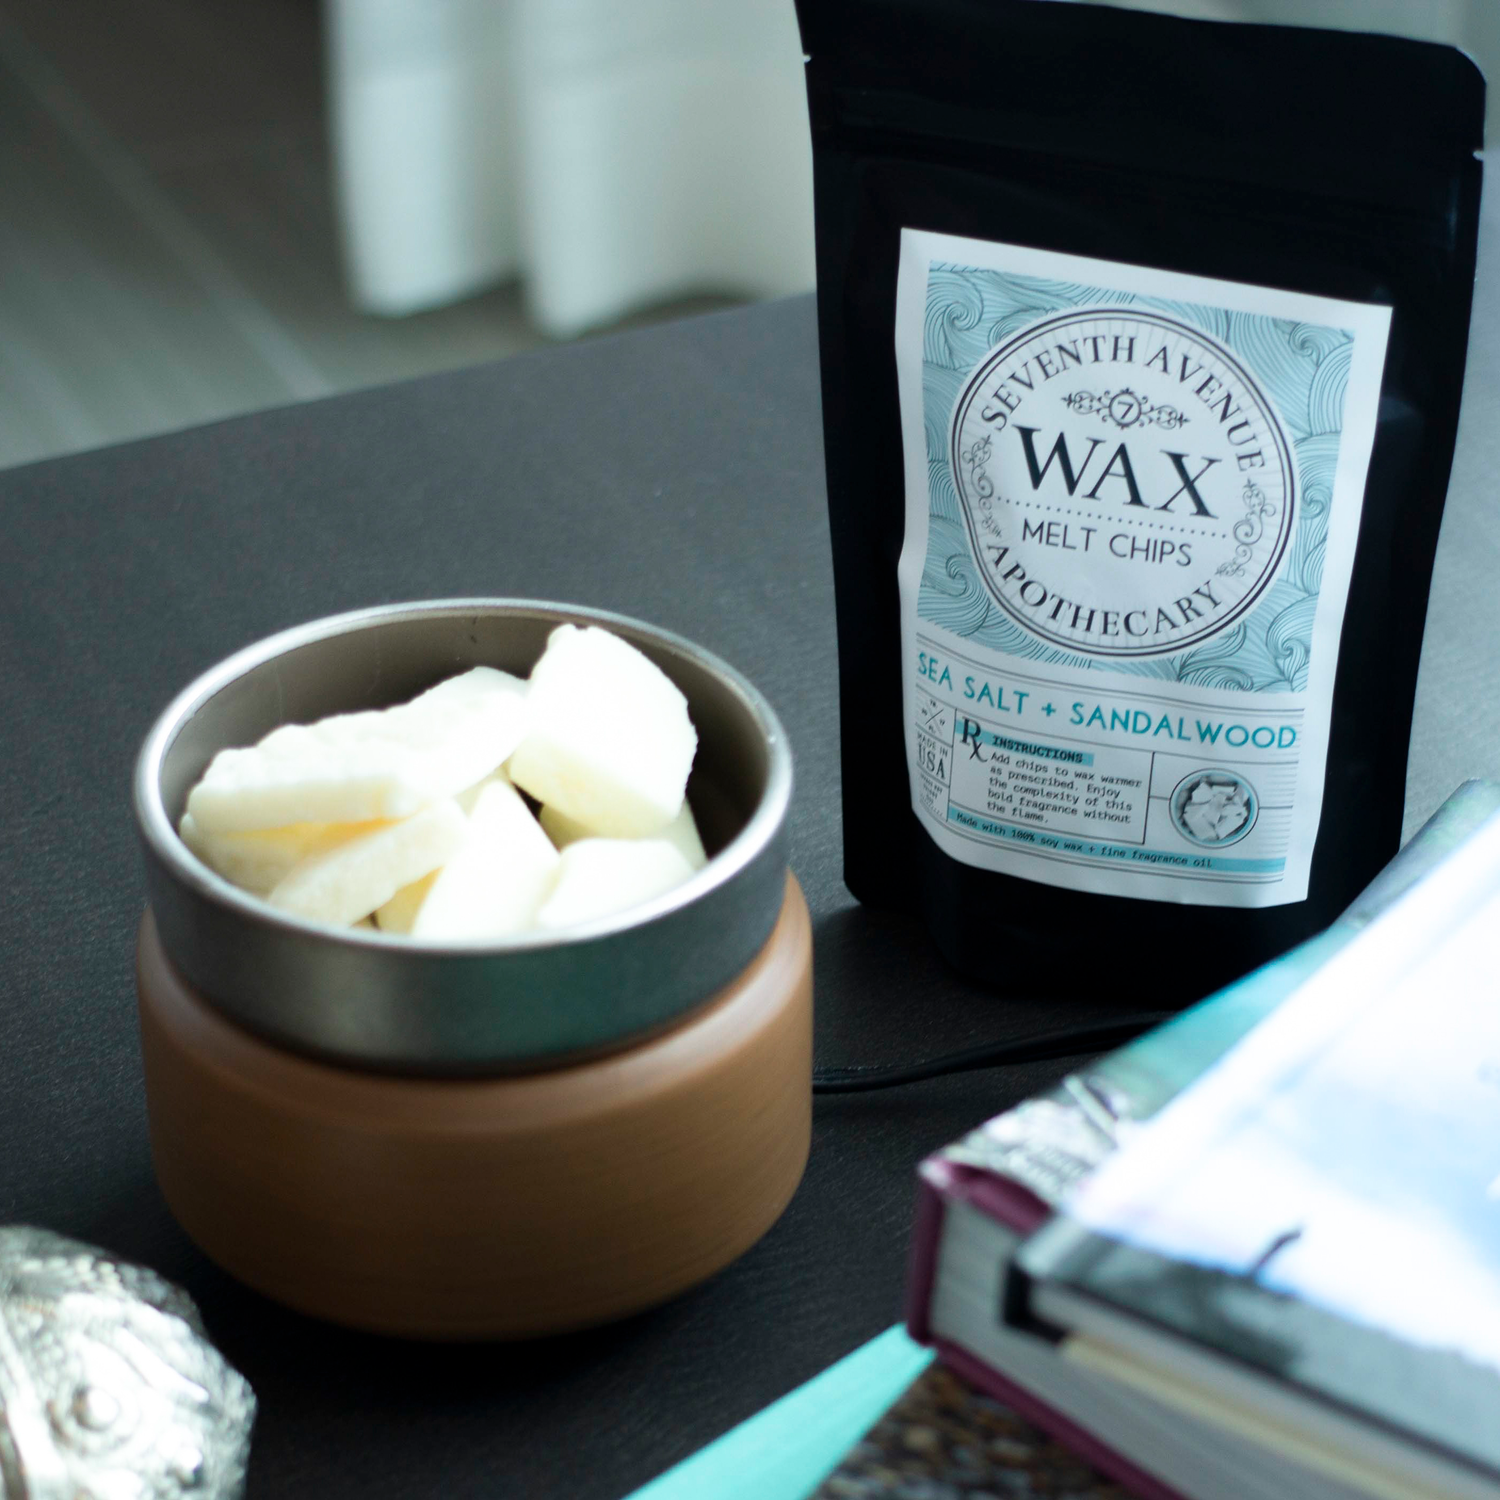
Taking care of your wax chip warmer and aroma diffuser is the key to making sure you get the most out of your fragrance blends. This product care guide will help you ensure the longevity of your favorite scent distributing tools!
Changing Wax Melts in Your Wax Chip Warmer
Changing Wax Melts from Your Wax Chip Warmer When the Warmer is On
To change wax melts if the warmer has been on for a while and the wax is in liquid form, take 1-2 cotton balls, place them inside the warmer, allow it to absorb, and dispose of the cotton balls when you are done. If any residue is left, wipe the remainder of the wax with a paper towel. This is the ideal method if your warmer does not have a removable lid or is a wall plug-in.
Alternative to Cotton Balls
Provided that you don’t have any cotton balls available you can use a spatula. Turn off your wax melts warmer and wait a few minutes until the wax cools down. You still want it to be warm, just not completely liquid. Take your spatula, scoop out the wax, and throw it away.
Changing Wax Melts from Your Wax Chip Warmer When the Warmer is Off
In case the warmer is off, turn it on for about five minutes or enough until only the bottom portion is no longer completely hardened. You can then easily pull out the wax and discard it.
Using An Electric Warmer Liner
A very convenient way to change wax melts from your wax melt warmer is to use a wax warmer liner or wax warmer popper liner. All you have to do is place a popper liner in your wax warmer tray before putting the wax melts inside of your warmer and be blessed with an easy clean up! There are disposable and reusable liners available. Not only do these make changing wax melts easier, but wax warmer liners contribute to keeping your wax melts in great condition.
Aroma Oil Diffuser Care Tips
Frequency
To maintain the longevity of your aroma diffuser, it is best to clean it after each use, especially if you are switching between aroma scents. By doing this you are:
- Preventing leftover oils from blending with the next oils
- Preventing corrosion on any parts of the diffuser
If you are unable to clean your diffuser after each use, at least make sure you are not letting water and aroma oils sit in the diffusers reservoir between uses! By doing this, you are actively preventing mold from forming.
Cleaning
Be sure to unplug your diffuser before each cleaning.
Cleaning the Ultrasonic Plate or Chip
The ultrasonic plate or chip is what actually breaks down the aroma oils and disperse them with water into the air.
- Dip a cotton swab into alcohol and rub it over the plate/chip to remove any excess oil build up
Water and Vinegar Method
- Fill the diffuser halfway with water, making sure to not fill up to the max line
- Add 10 drops of pure white vinegar
- Let the diffuser run for 3-5 minutes
- Drain the diffuser completely
- Dip a cotton swab in vinegar and to clean any corners of the diffuser
- Rinse with clean water
- Empty the diffuser and dry it with a cloth or clean cotton swabs
- Your diffuser is now clean and ready for use!
Dish Soap Method
- Wet a microfiber or other soft cloth with water
- Add a small amount of natural dish soap to the wet cloth
- Wipe out the reservoir with the cloth
- Rinse out the cleaned reservoir with water
- Dry the reservoir with a clean cloth or cotton swabs
- Your diffuser is now clean and ready for use!


If you are using the water and vinegar method to clean your diffuser, you don’t need to additionally clean the ultrasonic plate/chip separately. If you are using the dish soap method to clean your diffuser, it is a good idea to separately clean the ultrasonic plate/chip.


